Handstands are an interesting beast. You need the right balance of strength, mobility, skill and confidence to be able to do them correctly. I know how difficult it is to figure out how to start practicing - I’ve been there. But interestingly throughout the last few years where I’ve been learning and teaching, I’ve found that there are so many drills that will help you that don’t involve being upside down.
The focus here is on building strength and improving mobility. Getting these two elements up to scratch will help build your confidence to start practicing upside down. Plus you’ll have a lot more control and be able to get to grips with the position your body needs to be in much faster.
These first few drills focus on core strength and shoulder strength, which are vital for holding a nice straight handstand. The most important thing to remember when doing all of these drills is to keep your pelvis tucked under. That means squeezing your bum and rounding your pelvis forwards. You should feel your ab muscles switch on as you do it, give them a little poke just to make sure, they should be harder now!
Drills 1-4 in motion
1. Horizontal handstand shape
Here, the aim is to mimic the exact shape that we want to be in when we’re vertical. In this video I’m exaggerating it a little, just because I really want you to see what’s happening. Here are the steps:
- Lie flat on the floor, arms by your ears.
- Squeeze your bum and tuck your pelvis under. You should now feel a space between your tummy and the floor (NOT your pelvis and the floor… your pelvis should be pushing into the floor)
- Try to drive your armpits into the floor. This will open your shoulders and should feel like a big old stretch.
- Squeeze your thighs and make sure your toes are on the floor.
- Flex your hands and look at the space between your thumbs.
Not as easy at it looks, right? That’s the shape we want to be making in a handstand. Try holding for 30 seconds, 2 or 3 times.
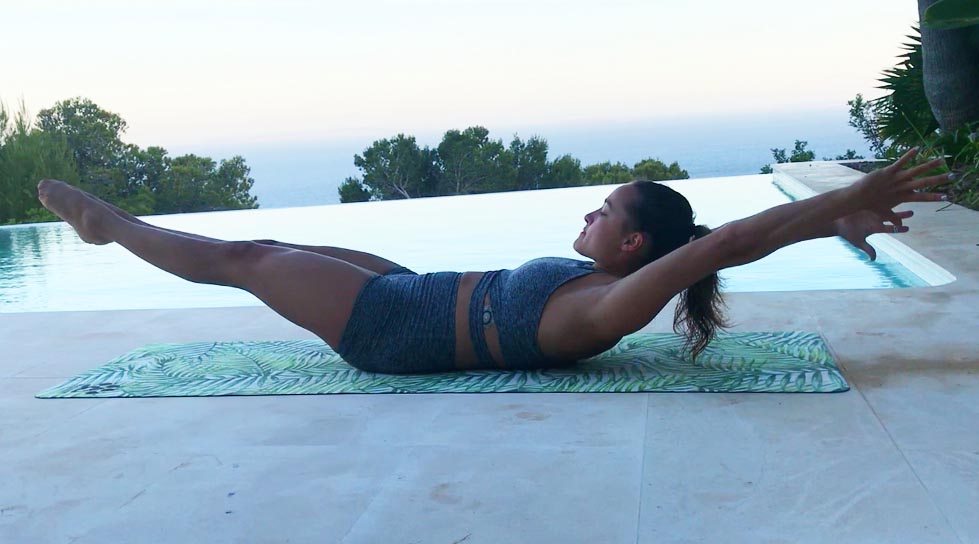
2. Dish hold
This is the more advanced version of this move. Start lying flat on the floor. Now, notice that your lower back isn't touching the floor when you’re completely relaxed, when you start squeezing your bum and tucking your pelvis your back will start to round and your lower back should now touch the floor. From here, lift your shoulders off the floor as well as your feet.
If your lower back isn’t touching the floor in this position, try raising your legs higher. If your lower back still isn’t on the floor, try bending your knees. It is essential for your lower back to be on the floor in this move, otherwise you won’t be working your core, you’ll just be hurting your back instead. Try holding whichever shape for 30 seconds 2 or 3 times.
3. Shoulder shrugs
Now let’s engage those shoulder muscles. You need these to be strong and mobile as they will help you control your handstand. Find a strong plank position, again pelvis tucked under. Now without bending your arms, sink into your shoulder blades, then push the floor away as hard as you can. Don’t worry if the movement isn’t very big, it’ll get bigger the more you do it. Go for 10 reps, twice over.
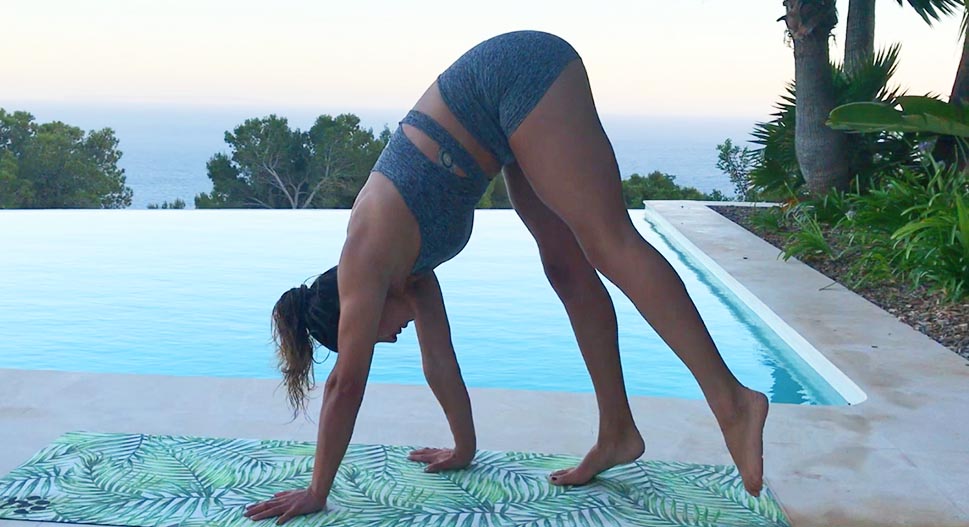
4. Straight leg bear crawls
Time to get that core and those shoulders working together. This move will look different depending on how flexible you are, but as long as you follow these steps you’ll still be working the right parts regardless.
- Start in a downward dog position
- Come up onto your toes, always pushing the floor away with the hands
- Take a step forwards with one hand, followed by the OPPOSITE foot
- Try to focus on using your lower abs to bring your foot towards your hand
Try walking backwards too.
5. Long walk outs
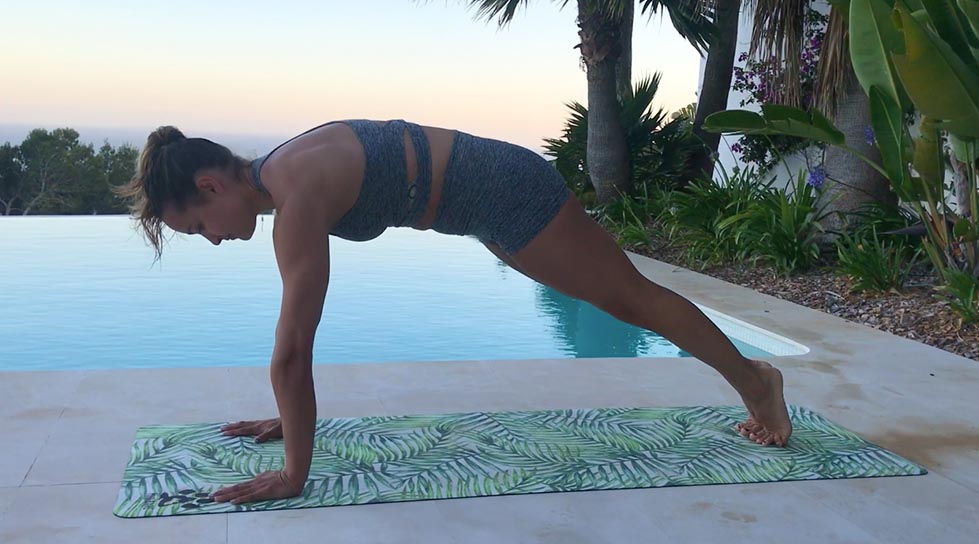
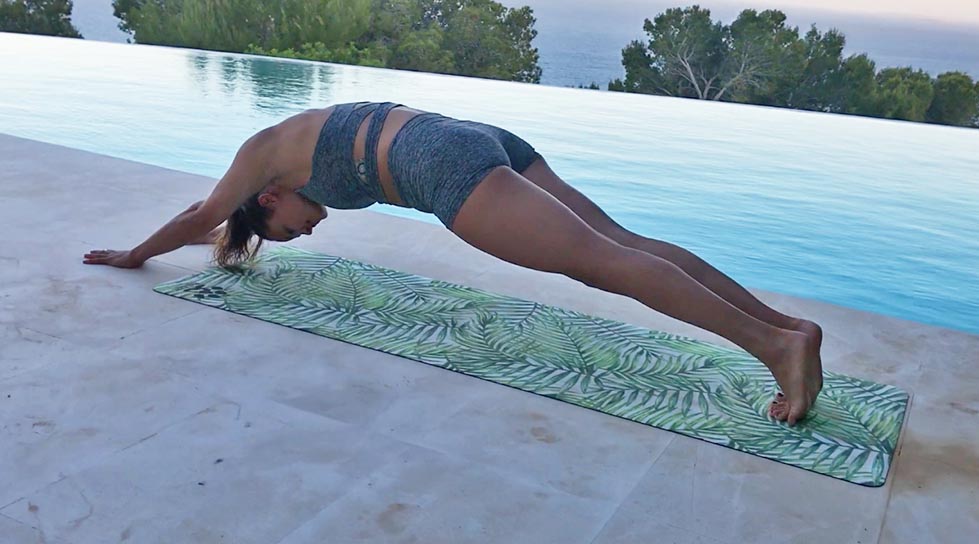
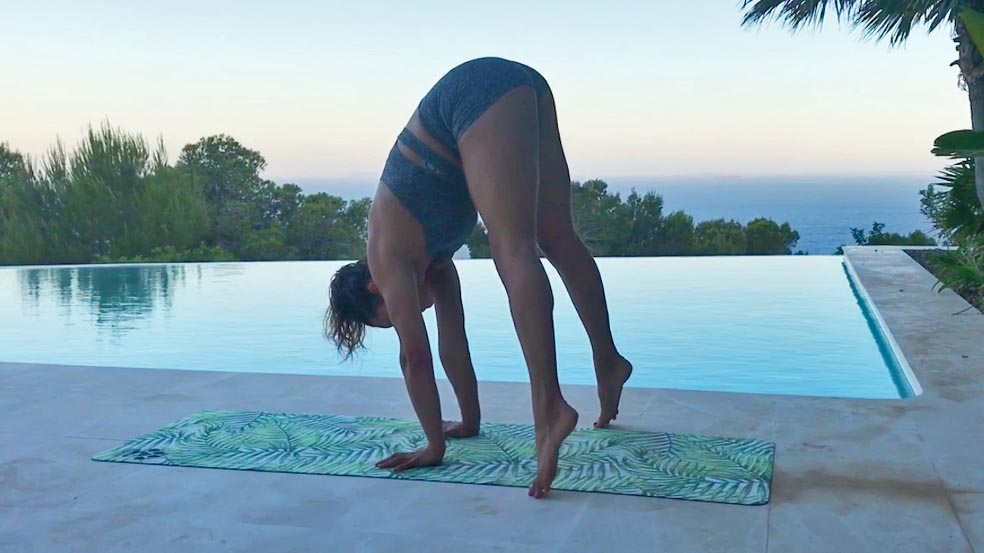
Classic straight leg walk out with a twist (or stretch…). Try to keep your legs straight the entire time, and please make sure you aren't going to slip and fall on your nose. The aim here is to actively be pushing through the shoulder the whole time and not to let go of your core engagement (do I sound like a broken record yet?). KEEP THAT PELVIS TUCKED UNDER! Walk from a forward fold into a plank position then try to take a couple more steps and make a long plank shape. Warning, this is hard work. Start small, again, and work your way down to that upside down dish shape (the one we did earlier, just the other way round). You should feel your abs and shoulders working here, and try to get a nice stretch through those hamstrings too.
6. Straight leg hovers
This one is a tricky one. It’s a drill to strengthen the first part of a press to handstand (lifting into a handstand without jumping or kicking). The aim is to shift all of your weight into your shoulders and see if you can get your feet to levitate off the ground for a split second without jumping. Don’t worry if your feet don’t leave the floor, the exercise will still work if they drag across the floor instead. Try and think about pushing the floor away with your hands, tipping your weight forwards (without falling forwards!) and lifting your tail bone as high as you can.
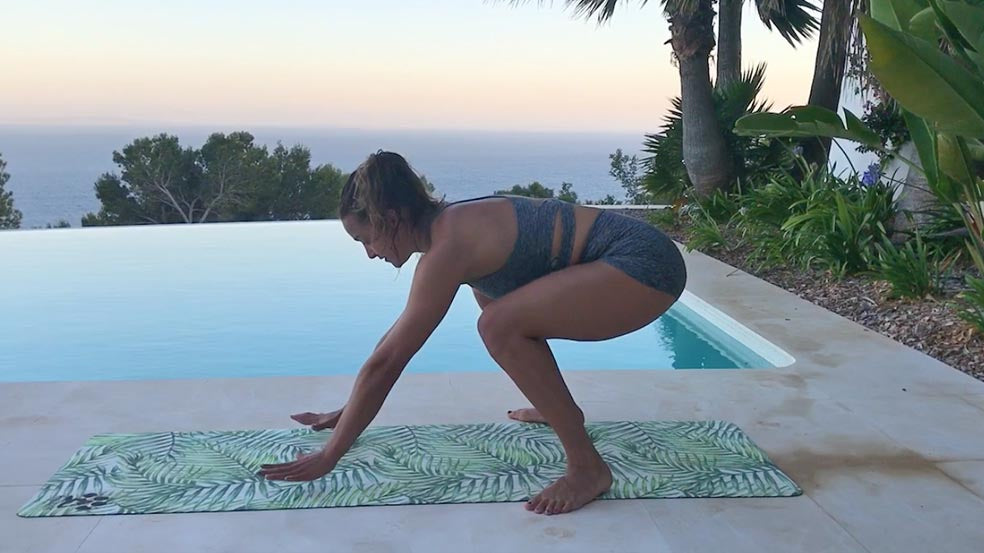
7. Bunny hops
These are a classic, we’ve been doing this since we were kids… right? We’re going to make them a little bit more sophisticated now though. Here are all of the different things that I want you to try and think about- don’t worry if trying to think about all of them at once is too tricky, take them one at a time and see what happens.
- The aim eventually is to stack your hips over your shoulders over your wrists, just so you know what you're working towards. Start small until your confidence builds
- KEEP YOUR KNEES TUCKED TO YOUR CHEST. Another tucking-pelvis-under job.
- Try and think about transferring your weight to your hands, rather than jumping forwards.
- You want to be actively using your shoulders here. At first they go forwards a little so that you can transfer your weight, then they push you back so that you don’t fall forwards.
- Try to use your fingers to help control what your shoulders are doing to help you move forwards and backwards.
Try going backwards with this too. More work for the shoulders, less about technique.
8. Dish feet around
This last one is great to build strength for press handstands. The idea is to try and get our bodies used to our legs lifting round to the side rather than straight out in front of us. This will make us a lot lighter when we’re lifting and when we do eventually mange to press, we’ll have trained the right muscles to be working and we’ll be more efficient.
There are two ways to do this one, the easier version is performed with our hands by our sides, the harder version with our arms above our head. In both versions we use the back of our hands to help us, pushing as little as we can get away with on the floor. The more we use our hands, the easier this will be, so aim to use them less and less each time you practice.
Start in a dish shape (we’ve done this one before), then split the legs and think about trying to drag your toes along the floor either side of you until they’re above your head (this won’t actually happen unless you’re a contortionist, but it’s the aim). Once you get round to the top, slowly start making your way back to your start position. The rep should take anywhere between 10-20 seconds to complete, take your time! The slower the better for this one.
Go for a few sets of 3-6, resting between sets. You should really feel your abs going here, and make sure again that your lower back is always glued to the floor.
Drills 5-8 in motion
So there you have it. 8 moves that will help you improve your handstands without going upside down. These are conditioning drills I still do now, even though I’m very comfortable being upside down after 3 years of training handstands. Even if your goals start to change, the strength and mobility you’ll have built from practicing these moves will help you in so many other ways too.
If you have any questions at all or would like to enquire about private handstand coaching in London (whatever level you’re at!) feel free to drop me an email at [email protected]. For now, happy practicing and head over to @movewithTara for more drills and inspiration.
Tara x

