Wheel Pose is a challenging, heart-opening yoga posture that stretches and strengthens the entire body. The Sanskrit name “Urdva Dhanurasana” translates to Upward Bow Pose, but you may also know it as bridge or crab. Wheel pose is a deep backbend, so it is important to warm up the body completely before attempting it. I would recommend practicing this posture towards the end of your practice, when all your muscles are open and you can backbend safely. Start your practice with some heat-building standing postures or a full body sequence to warm up, then work into a few mild backbends such as Bridge Pose and Puppy Dog Pose to prepare your spine. What is Wheel Pose (Urdva Dhanurasana)?
We spend most of our lives either upright or leaning forwards. Whether we are sat on the sofa, at a desk, driving, eating or playing on our phones, it almost always involves spinal flexion. We very rarely have any need or urge to bend over backwards. Unfortunately, our bodies become really good at being in this hunched position with the spine rounded, the shoulders dropped and the head stooped forwards. Alongside this come a host of other problems - bad posture, back pain, poor digestion, restricted breathing - the list is endless. Make a conscious effort to stretch your spine in the opposite direction frequently to improve your overall health and happiness. It could be some simple, daily stretches sat in a chair at work, or it could be committing to a regular yoga and back extension practice, to build strength and flexibility into your spine. 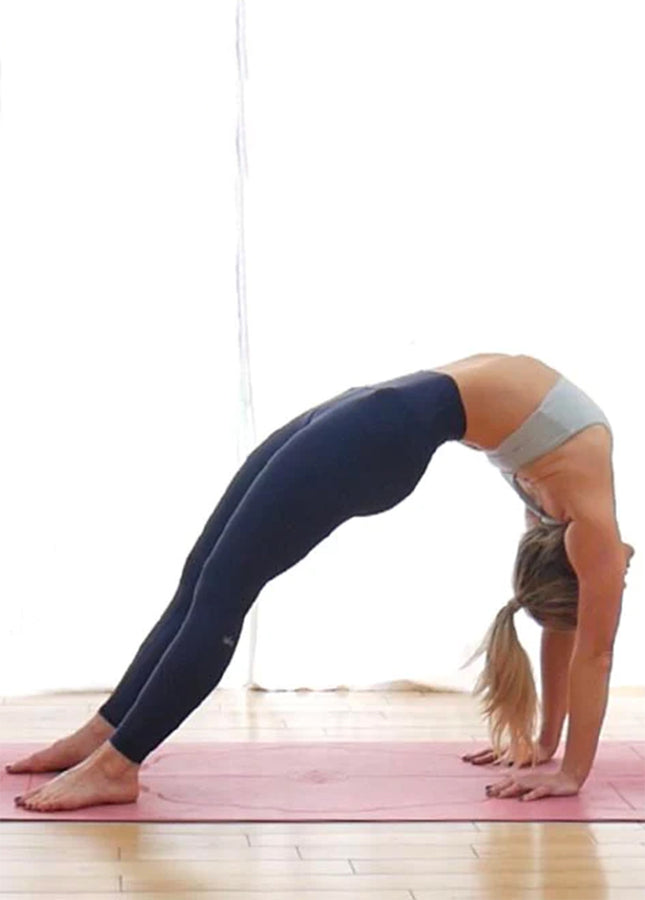
Why is Wheel Pose important?
Lifting all the way up into a Wheel Pose can be very challenging. There are a number of reasons why you may find it difficult, such as having tight quads, hips or shoulders, or having a weak back, arms or wrists. Or if you’re really unlucky - all of these things! Don’t rush or force your body into a posture it’s not ready for. It’s counterproductive and you could soon end up injured. Take your time and allow yourself to progress at your own pace. Over time you will build the strength and flexibility to improve. Be patient. The longer it takes, the better it will feel when you finally manage it! Benefits of Wheel Pose
Challenges of Wheel Pose
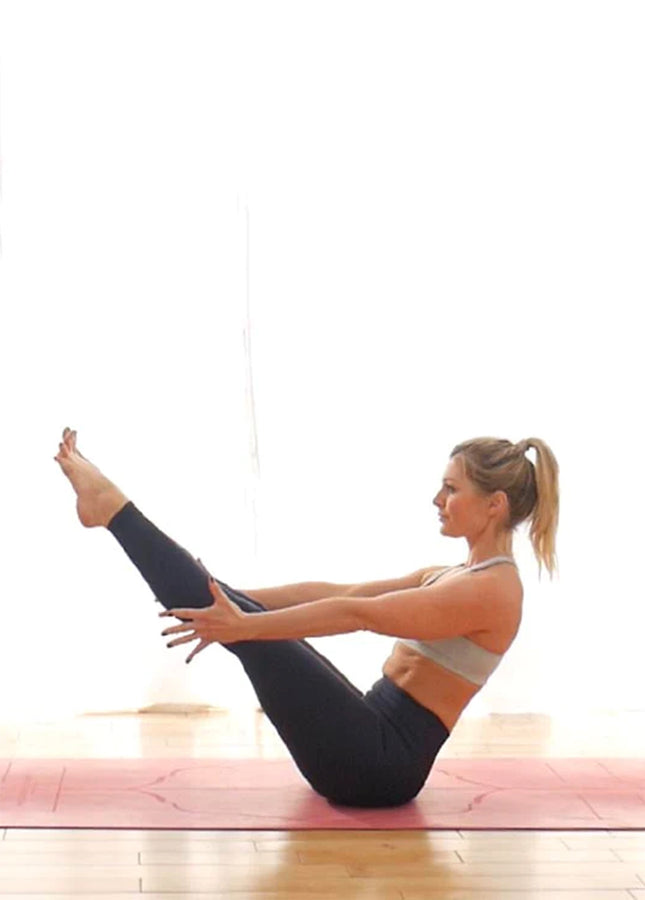
Before you stretch the spine backwards, I recommend you do some core strengthening exercises to create stability and balance. My go-to core posture is Navasana. Starting from seated, lean back slightly and lift both legs up in front of you. Legs can be bent at 90 degrees (table top) or straight. Find a balance point somewhere between your tailbone and sitting bones. Keep your chest lifted, your back straight and your toes at eye level. Reach your arms out in front, parallel to the floor or hold onto the back of your legs if you need to. Keep your shoulders down. Most importantly, keep your core activated to ensure your lower spine is protected. Puppy pose is a wonderful therapeutic posture that opens up the chest, shoulders and the upper back. From all fours, walk your hands further out in front of you. Keep your bum in the air with your hips above your knees and lower your chest towards the ground. Press firmly into your palms and lift your sitting bones to the sky. You can look ahead for a deeper stretch or fix your gaze to the floor for a gentler version. 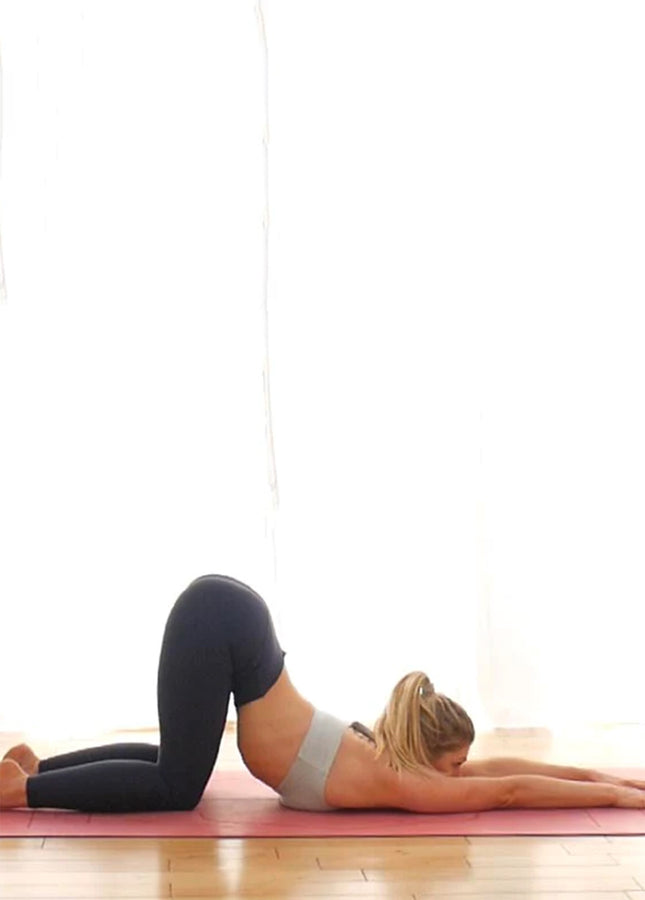
4 exercises to help improve your Wheel Pose
Boat Pose (Navasana)
Puppy Dog Stretch (Uttana Shishosana)
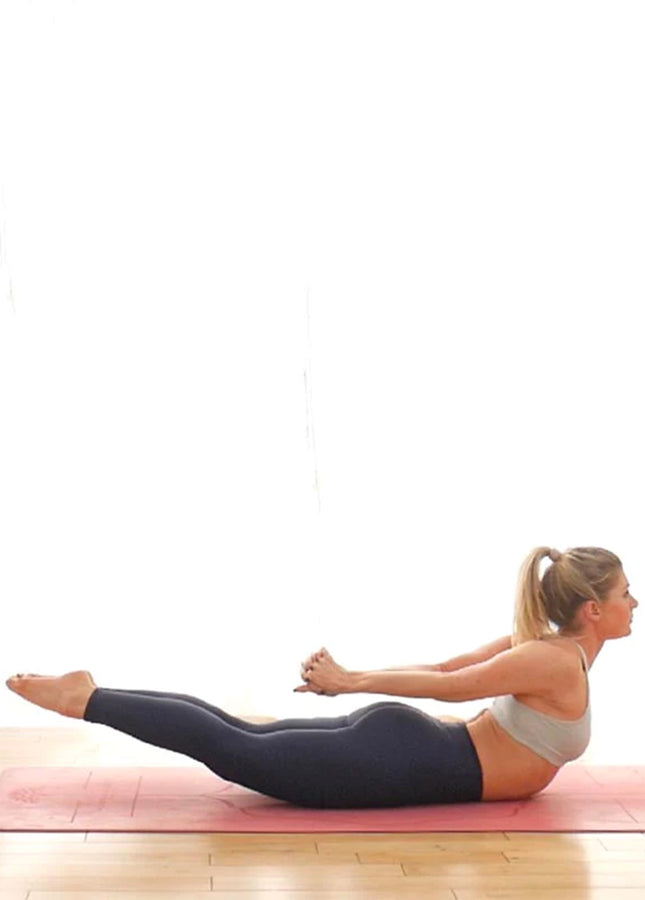
This pose awakens and strengthens your back extensor muscles in preparation for deeper backbends. Your resistance in Salabasana is gravity, working against your own weight. Lie on your front. Bring your feet close together. Bring both arms behind your back and interlace your fingers above your bottom. Lift your chest and feet off the ground. Keep your legs straight by engaging your quads. Use your glutes and hamstrings to lift your legs, reaching your toes towards the back end of the mat. Squeeze your shoulder blades towards each other and lengthen the neck. Your neck is susceptible to hyperextension so aim to let it smoothly continue an arch with the rest of your spine. Keep your lower belly lifted to protect your spine, breathing into your chest. Locust Pose (Salabasana)
Lie on your back with your knees bent up, and your feet flat to the floor and parallel. Reach your arms up and overhead with the backs of your hands on the floor. Press down into the floor with your shoulders and feet, slowly lifting the hips. Engage your glutes. Your lower back should have a feeling of extension, like your tailbone is reaching towards your knees. Lie on your back like the entrance to Bridge Pose. Place your hands under your shoulders with your fingertips pointing in the direction of your feet. Keep the elbows hugging in towards your ears and ensure your knees stay hip width apart. Don’t let your feet and knees turn outwards like Charlie Chaplin, keep them parallel. Push down strongly into your hands and feet, lifting your head and body off the ground.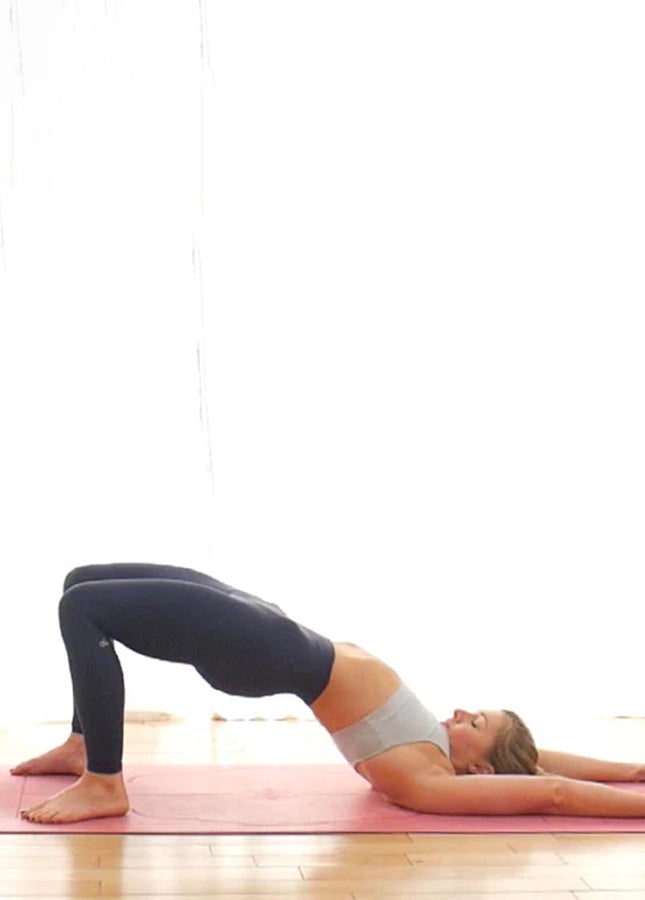
Bridge Pose (Setu Bandha Sarvangasasna)
How to do Wheel Pose
If you've tried stage 1 and feel like you could go further: Don’t forget to leave yourself enough time and energy to exit the pose slowly and safely, instead of leaving it too late and simply collapsing to the ground. Once you feel confident in your backbends, you can skip Stage 1 and lift straight up into a full wheel pose.
STAGE 1
STAGE 2
To exit the pose safely:
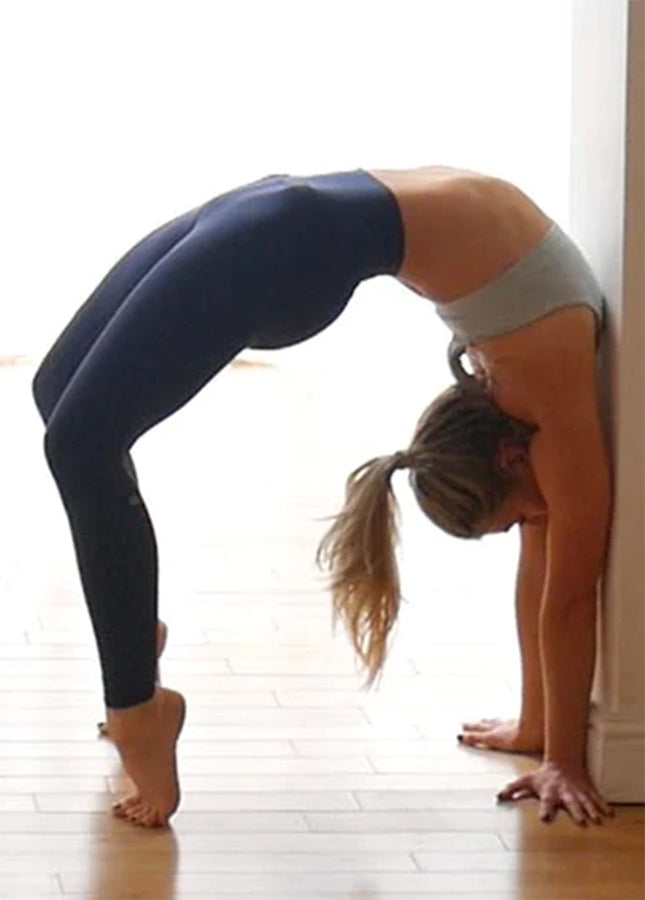
Backbends can generate a lot of fear for people, but when you know how to move correctly and safely, they can really transform your practice. Here are a few key techniques to help you strengthen and deepen your backbends in a safe way. It can be tempting to stretch predominantly in your lower back as that is usually the most flexible and easiest part to move. However the lumbar spine is often weak can be vulnerable to disc injuries. Instead, aim to create strength and stability in your lower back. Consciously elongate your lower spine, creating space before you bend there, so that the pressure can stay out of that weak spot. Practicing the exercises above will also help build that vital strength and stability. It is safer and much more rewarding to increase flexibility in your thoracic spine. Redirect the stretch in Wheel Pose towards your middle and upper back by drawing your chest though the space between your arms, moving it towards the wall behind you. It can feel a lot more intense, but if you commit to practicing this version of a wheel pose regularly, you will progress quickly and it will start to feel really good. The wall can be a really powerful prop to help open your upper back and provide support to help with this posture. My two favourite variations are Puppy Dog stretch against the wall and Wheel Pose against the wall (pictured above). Tips for avoiding injury
1. Create stability in your lower back
2. Direct the stretch towards your middle and upper back
3. Use a wall
After any backbend practice it is important to stretch your spine in the opposite direction to counteract excessive back extension, and bring balance back into your body. Try this forward fold: Reclined twists are another really yummy stretch to release compression after a backbend. 4. Follow up with a counter posture
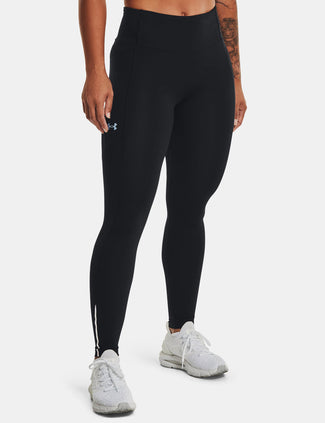
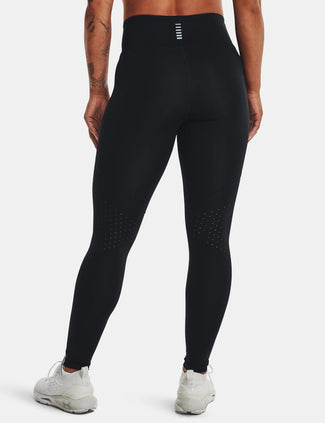
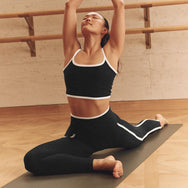
Comfort is key, especially if you’re quite new to a challenging yoga pose. The last thing you want is to be restricted by waistbands digging in or riding down, or fiddling around with vest tops falling over your face! You want zero distractions, so that you can fully focus your mind and body on the pose in question. If you’re wearing a loose vest top, try to comfortably tuck it in to your waistband before going in to the pose. A soft, seamless bra top will also help you avoid any bra hooks or strap buckles digging in to your back. On the bottom half, try some high-waist leggings or stretchy yoga shorts for second-skin comfort. To make sure your feet are stable on the ground, putting on some yoga socks will give you that extra grip. The breath is one of the most important parts of your yoga practice. As our backbends become more intense, often we hold our breath without even realising. If you hold your breath you will lose energy, risk injury and are likely to go into panic mode. Keep your mind calm and your body strong by bringing your awareness on your breath. Hold each posture for 5-10 slow, smooth breaths. Move slowly and mindfully. Listen to any messages of pain in your body and back off if it becomes too overwhelming. The whole 'no pain, no gain’ concept is not true in yoga. Yoga poses should never be painful. The better you treat your body, the better it will work. 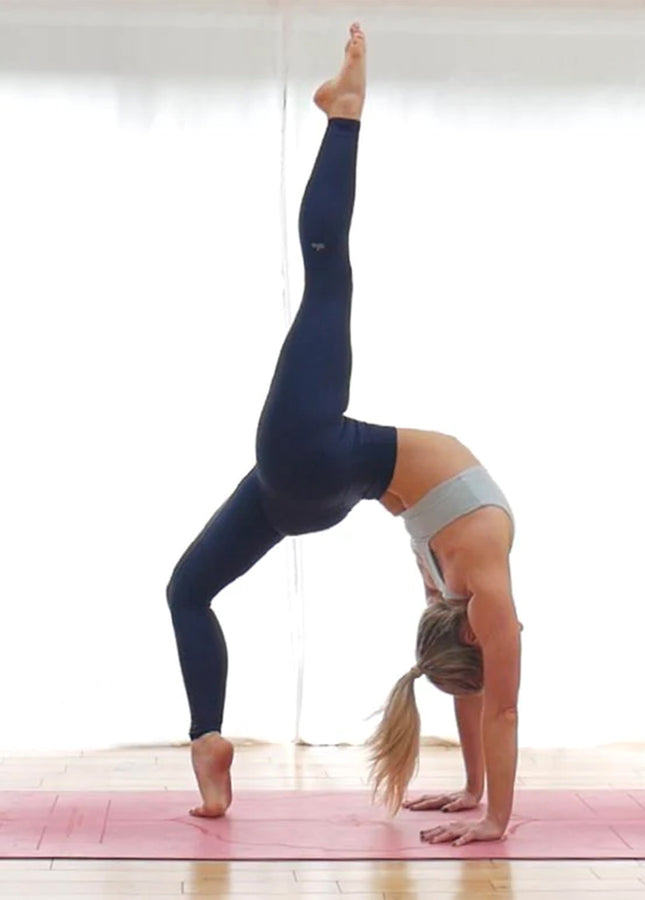
5. Wear the right clothing
6. Remember to breathe
7. Listen to your body!
If you are experiencing pain in Wheel Pose, it is usually due to faulty technique or injury, so find a teacher who can analyse and correct your postural alignment. If you have any neck, shoulder or lower back issues, move very carefully, avoiding pain, or wait until you have recovered. Once you feel confident in a Wheel Pose there are loads of different options to progress to, including: Check out at these advanced variations in the video at the top. Don’t forget to approach Wheel Pose with the right mindset. Don’t put pressure on yourself to immediately achieve this posture - it’s better to be excited about trying it and working gradually toward something new. Enjoy the journey! You can learn Wheel Pose and lots more with Tamara on her Luxury Yoga Retreat in Spain from 8th -14th June 2019. How to advance your Wheel Pose
Conclusion

